
We only really completed her living room, but did super good progress elsewhere too. I had so little time I could not photograph her whole home but it's stunning. I almost forgot to photograph the living room! I know you guys want a before and after and I will have one up in my before and after section shortly;)
Here's how we pulled together her living room and how you can too!
// 1 //

A large rug! Pull that area together with a great rug! This one is from Pier 1 and is jute. It is actually very thick and soft, if you believe that! Go for a neutral if you've got lots of colour in other places, or opt for something natural like this that will add great texture and interest to a room. Just remember that size does matter. I say go with what you feel comfortable with, but it probably should be at least an 9 X 7 minimum! This one was a steal for less than $200.
// 2 //

Display your collectibles! Show people who you are! If you are well travelled you probably own a thing or two from your trips. If you've got kids you probably have a few cute art projects. If you are a bookworm you've probably got tons of books! Display them! Lately I've been very symmetrical and minimalist in my styling. I think it's good to let the objects breathe a little too. My aunt had so many pretty little tchotchkes that I had so much fun moving them around.

// 3 //
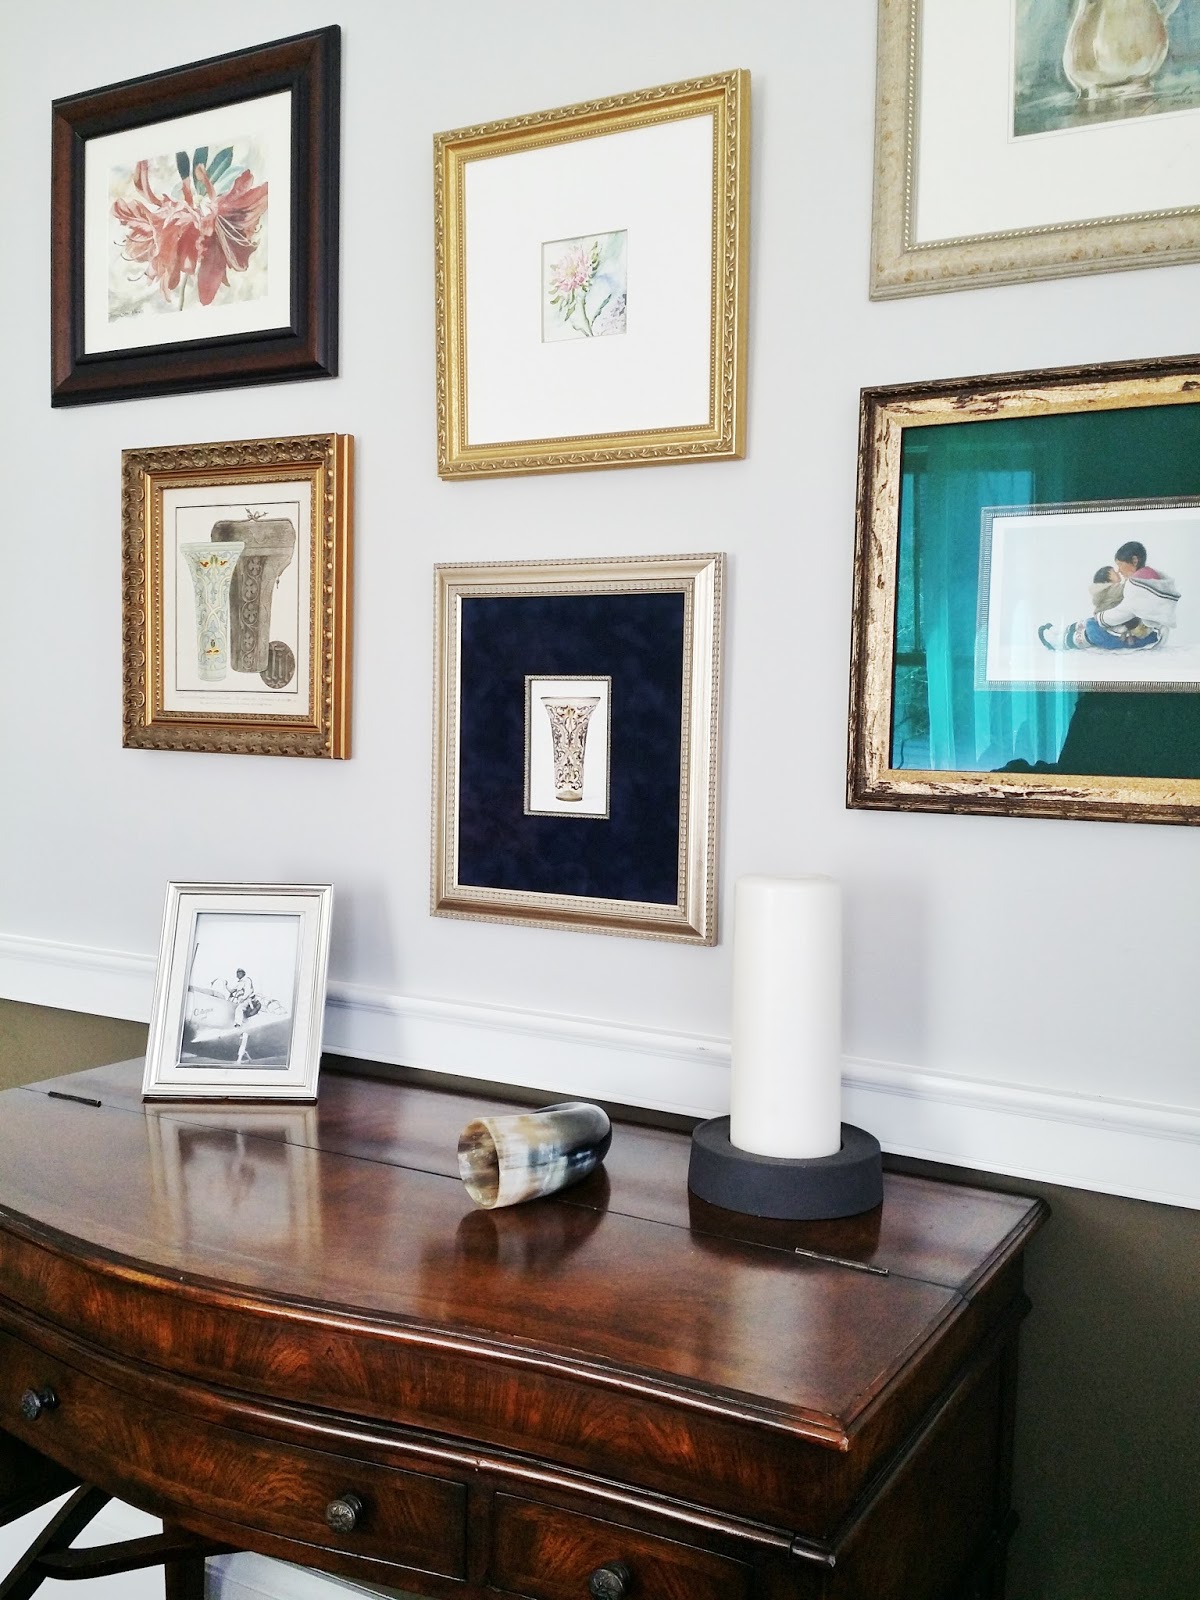
Have a gallery wall! I could have one in every room. Being able to bring together art and pictures you love in a pretty way can seem daunting. So start small. Because this is a small side wall in the living room it isn't the focal point nor did it need to be (there's a beautiful fireplace/built in in the room already!) Start by laying out five to seven frames on the floor and move them around until you feel it looks good! That's exactly what I did here! Then just measure (or eyeball) the placements on the wall. Start with the centremost frame and work outward making sure you have enough space for those lower frames. I played with colour here because my aunt did such a pretty job choosing rich, colourful matting to make the pictures pop!

// 4 //

Have fun with pattern! Covering a whole chair or 2 in a fun fabric is another pretty way to inject interest and beauty in a room. Don't be scared! Pillows, throws and curtains are a great way to start for the pattern shy. Also, my favourite, wallpaper!
// 5 //

Work with things that have meaning, pieces you love! It can be sentimental or an object (or piece of art) you've been eyeing or saving up for. Don't surround yourselves with things just because you want to complete a room. If you are working with a decorator you must shop with her if you don't already have these objects. This is also true when styling shelves. You know what your stuff means so work alongside the designer. You want the room to reflect you, not your decorator! Of course a decorator can do things you never thought of, just make sure you are part of that process! Below, my aunt's duck frame found the perfect home! There was no better place, and she can enjoy it too!
I do apologize for the not so professional photos. These really don't do the room justice, that's for sure. But at least writing, you get the tips I'm sharing with you!
Have an amazing weekend!
XOXO,
B